


Nginx is a lightweight open-source web server. According to w3tech, Nginx is used by 34.0% of all websites. Many high-traffic websites use Nginx. It is the most popular web server because it is lightweight and works as a reverse proxy server. In this tutorial, I am going to share how to install Nginx on Ubuntu 20.04.
So, Let’s get started.
Prerequisites:
- Ubuntu 20.04(Focal Fossa)
- A non-root user with sudo privilege.
- SSH access to the server.
Nginx Installation Steps
In this tutorial, I am going to install Nginx on an AWS Ubuntu EC2 instance. Now, Login to the server to continue the installation.
Step 1: Update Ubuntu Software Repositories
Before installing any software on the server, it is always recommended to update the software repositories. Update the repositories by following command.
$ sudo apt update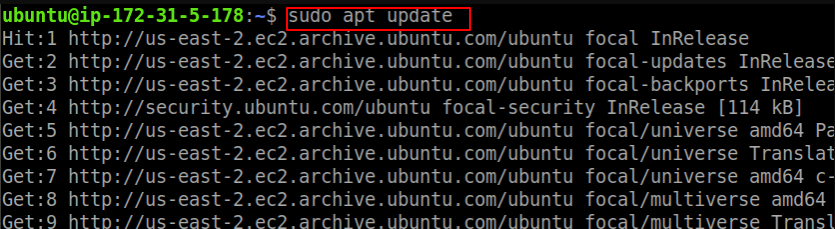
Step 2: Installing Nginx
Nginx comes with default Ubuntu repositories. You can install Nginx on Ubuntu 20.04 by following command.
$ sudo apt install nginxNow, to make sure Nginx is installed correctly, run the following command.
$ nginx -vOutput should be something like this
nginx version: nginx/1.18.0 (Ubuntu)Step 3: Checking the Nginx Server Status
Check Nginx status by following command.
$ sudo systemctl status nginxOutput:

Some Frequently used Nginx commands
| Services | Command |
|---|---|
| To stop nginx server | $ sudo systemctl stop nginx |
| To start nginx server | $ sudo systemctl start nginx |
| To restart nginx server | $ sudo systemctl restart nginx |
| To reload nginx server | $ sudo systemctl reload nginx |
| To disable nginx on start | $ sudo systemctl disable nginx |
| To enable nginx server on startup | $ sudo systemctl enable nginx |
Step 4: Adjust Nginx Firewall
Adjust firewall configuration to all access to the service. Check nginx profile by following command.
$ sudo ufw app listOutput should look like
Available applications:
  Nginx Full
  Nginx HTTP
  Nginx HTTPS
  OpenSSH
Now, allow access to the Nginx with the default firewall.
$ sudo ufw allow 'Nginx HTTP'System will display “Rule Updated”. Now, reload the firewall by following command.
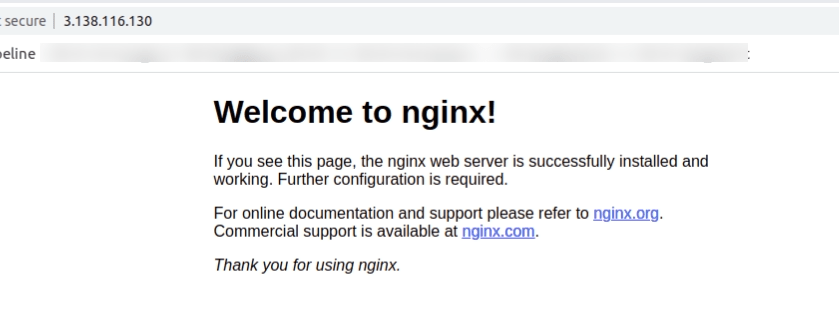
$ sudo systemctl reload nginxStep 5: Test Nginx Server on the Browser
Open your favorite browser and hit the server IP, you should see the default nginx page.
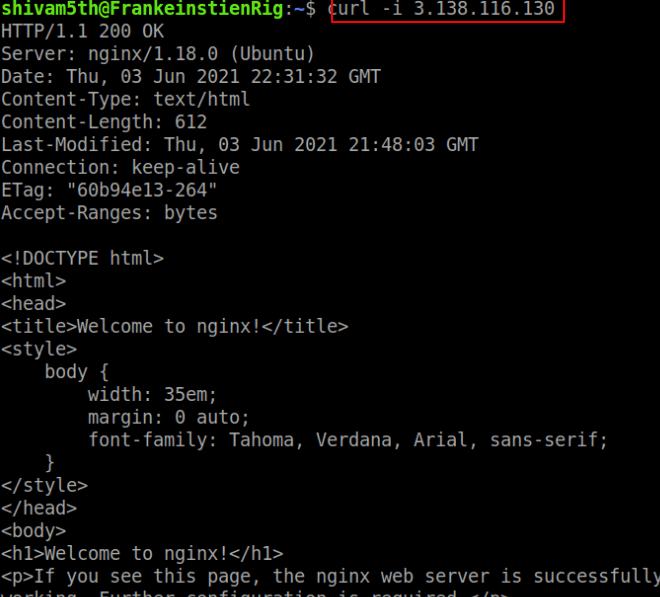
If you haven’t any GUI(Graphical User Interface), you can use curl to check the output.
$ curl -i 3.138.116.130Output should look like this.
Read Here: How to install LAMP on Ubuntu 20.04
Conclusion
In this tutorial, you have learned to install Nginx on Ubuntu 20.04. If you have any doubts feel free to contact me, I will definitely try to help you. Also, you can join our elite Facebook group to get direct help from me. If you like this tutorial, please share this article on your social media handle.
")
")
