


Amazon Web Services aka AWS provides a highly scalable web hosting environment. When you host any dynamic website such as WordPress or any other PHP application, you need a highly available server. In that case, AWS is a good choice, as it has an ample number of services, by using these services you can make your website fast, secure, highly available. In this tutorial, I am going to share how to host a dynamic website on AWS.
So let’s get started.
How to Host a Dynamic Website on AWS
You can host a website on AWS using multiple ways, depends upon the architecture you are implementing. In this tutorial, I am going to host WordPress on EC2 using two ways.
- WordPress setup on EC2 only.
- WordPress setup using S3, Route53, Load Balancer, etc (Highly Scalable Architecture).
Setup WordPress on EC2 – Step by Step
I am assuming that you already logged in to AWS for the installation.
Step 1: EC2 Instance Launch
First, launch an EC2 instance from the EC2 dashboard. You can choose any operating system for your instance. I am choosing Ubuntu from the Amazon Machine Image(AMI).

Next, choose the instance type now. You can choose t2.micro , as it comes with 750 hours free. Now, click on the configure instance details and keep all default records unchanged and click on review and launch.
On the review and launch section, edit the security groups to add http and https types. Finally click on the launch.
Now, instance launcher will ask to create a server key. Select the existing server key or create a new one, if you haven’t any. After selecting or creating the key, click launch to instance.
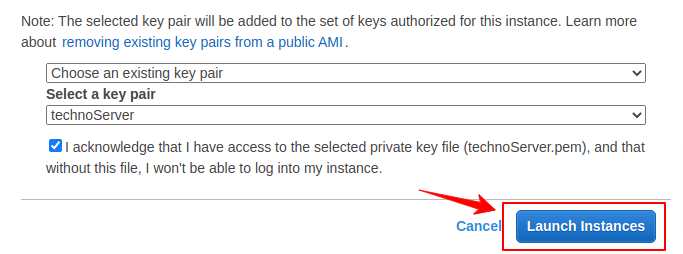
Your instance should be successfully launched.
Step 2: SSH into the EC2 Instance
Copy the public IP from the instance, and ssh into the ec2 instance using the key you generated. After login to the instance via SSH, first update the the server using following command.
$ sudo apt update && upgradeNow install LAMP stack by following commands.
$ sudo apt install apache2
$ sudo apt install mysql-server
$ sudo apt install php libapache2-mod-php php-mysql
Click here for details instructions to install LAMP on Ubuntu.
Step 3: Download WordPress to EC2 Instance
Download the latest version of WordPress from the official website. After downloading the WordPress move the archive file to the /tmp directory.
$ cd /tmp
$ curl -O https://wordpress.org/latest.tar.gz
Now extract the file and move the files to document root of the apache server.
$ tar xzvf latest.tar.gz
$ sudo cp -r wordpress/. /var/www/html
Read more how to extract tar.gz file on Ubuntu. and cp command and their options.
Step 4: Create a MySQL database for WordPress Installation
Login to MySQL dashboard and create database using following command.
$ mysql -u root -p

mysql> CREATE DATABASE wordpress_test;
Your wordpress database created, now modify the wp-config.php file to connect the database with WordPress. For WordPress installation, you have to install some additional PHP extensions by the following command.
$ sudo apt install php-curl php-gd php-mbstring php-xml php-xmlrpc php-soap php-intl php-zipNow, go to the apache document root /var/www/html, and run following command to copy the w-config.php file.
$ cp wp-config-sample.php wp-config.phpEdit wp-config.php file and add the database records to connect with WordPress. Edit database name, database password, database user, etc.
/** The name of the database for WordPress */
define( 'DB_NAME', 'wordpress_test' );

/** MySQL database username */
define( 'DB_USER', 'root' );

/** MySQL database password */
define( 'DB_PASSWORD', 'XXXXXXXXX' );
Step 5: Install WordPress from the Browser
Now, install WordPress on browser tab by giving the information such site title, administrator email, password, user name, etc.
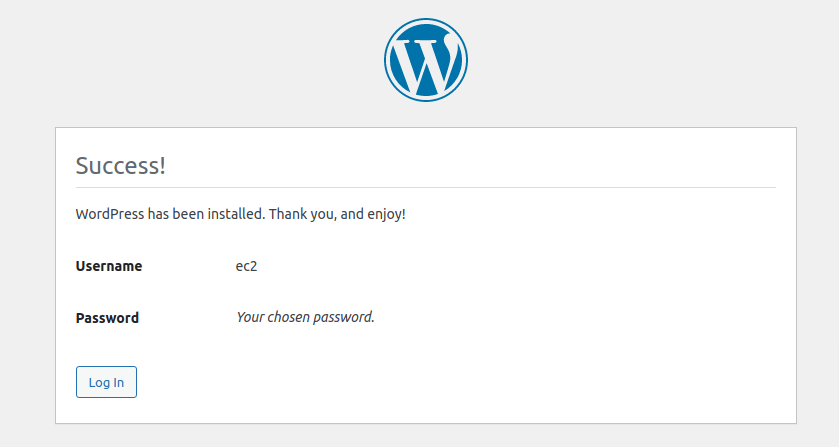
Hurray, you have successfully host a dynamic website on AWS.
Conclusion
In this tutorial you have learned how to host a dynamic website on aws. If you have any doubts feel free to contact me, I will definitely try to help you. Also, you can join our elite Facebook group to get direct help from me. If you like this tutorial, please share this article on your social media handle.
")
")
